Last Updated on
Streaming has become one of the most popular ways to watch video content. If you want to start streaming, you’ll need to get a server running on your computer or phone. This guide shows you how to install and configure a basic server.
Discord is a free voice and text chat application that allows you to create private rooms where you can talk to friends, family, and other members of your community. The service also offers features such as group chats, file sharing, and voice and video calling. You can even add bots for certain functionalities that help make the user experience even better.
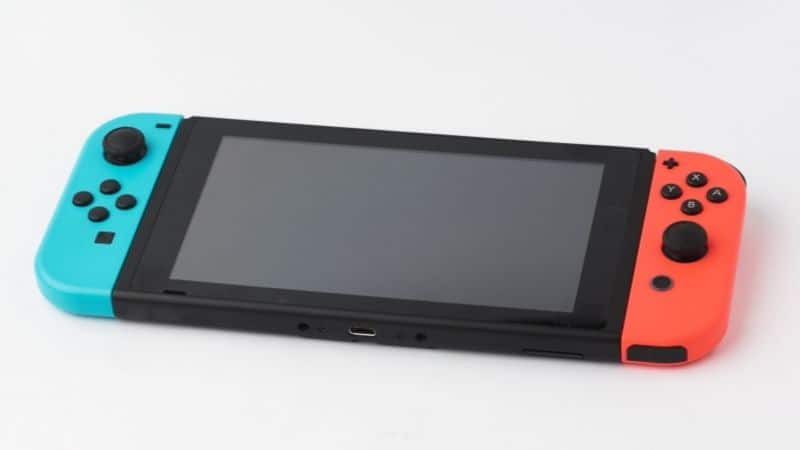
But what about the Nintendo Switch? Can you stream on Discord using this device? Since there is no dedicated app for Discord you’re going to need a computer or laptop to stream via Switch but it’s definitely possible.
What You’ll Need To Stream Switch To Discord
As there isn’t a dedicated app, you’re going to need a few things to be able to complete this. As we’ve already mentioned, you’ll need a laptop or computer to connect your Switch.
You will also need video playing software to play the stream. We recommend either VLC media player or OBS Studios.
If your computer or laptop does not have an HDMI port, you will require a video capture card.
If, however, it does have an HDMI “In” port, the switch can be plugged into your laptop or computer directly.
Step
Connect Your Switch To A Video Card
Start by inserting your Nintendo Switch into your Dock and connecting the USB-C ports in order to make a connection. Then, connect the HDMI from the Dock to the capture card. Make sure to plug it into the “In” port on the capture card so that information can be transferred to youPC or laptop..
Next, open the video card software and follow the instructions. You may have already had to install the software if suggested in the user manual. Then turn on the Switch and connect the USB cable from the capture card to the computer or laptop.
Step
Switch Settings
The next phase is to make sure your Switch settings are set up correctly so you can stream in the best possible settings.
Head to “System Settings” and then down to “TV Resolution.” Set the option to 1080p and “Full RGB Range.”
Step
Playing Through Discord
Head to Discord and from there you can join one of your servers. From there, double-click with a speaker icon to join the voice channel. Click the “screen” option which is represented as a monitor icon with a sharing arrow (found at the bottom of the channels list). You should now see a list of all your applications and screens.
Click the applications tab and look for VLC media player, OBS or the software you have chosen. Then finally click Go Live and you’ll be able to see a thumbnail of what you’re sharing located in the lower right corner of the screen.
If at any time you want to stop sharing, just click the minor with the “X” that is found inside the thumbnail preview.
Frequently Asked Questions
Will I Have Enough Storage If I Wish To Stream Multiple Games?
As the Nintendo Switch comes with 32 GB of onboard storage, this might not be enough for your needs. Therefore it might be worth investing in a Micro SD card which means you won’t have to uninstall games to make room.
Final Thoughts
This method works perfectly fine for streaming your Switch to Discord. It’s pretty much the same process as streaming anything else to Discord. However, you do need to use a capture card to get the most out of it.
We hope this guide helped you learn how to stream the Nintendo Switch to Discord!

