
Last Updated on
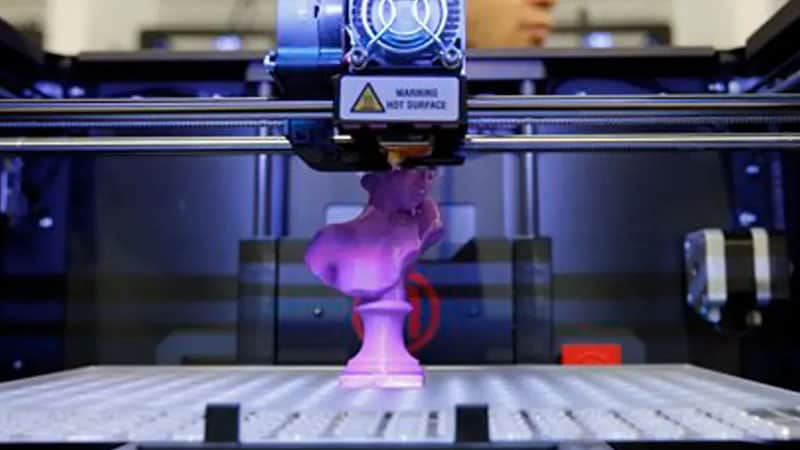
Whether you’re new to the world of 3D printing or you’ve recently upgraded your existing printer to a new one, the calibration process can be one of the trickiest parts of the set-up process to get right. To ensure that your 3D printer is going to be able to perform to its ability, there are a few steps that you’ll need to follow prior to sending your first digital file to print. So, let’s take a look at them below:
Dial-in the first layer with your 3D printer’s nozzle
The first thing to do while calibrating your printer is to create a good first later. It’s important to make sure that you don’t get the nozzle too close to your printer’s bed, otherwise, you’ll likely find that the first layer is distorted and squished. On the flip side, if your nozzle is positioned too far away from your printer’s bed, then you’ll likely find that your printer will lack the necessary amount of adhesion, and will be unable to create the first layer. To get the right setting, turn the Z offset off.
Adjust the stepper motors
After you have dialed in the first layer and are happy with the settings, the next thing you’ll need to do is to adjust the stepper motors. All 3D printers use stepper motors, which are able to rotate by themselves to help move the axes along, while also maintaining the extruder distance. In order to calibrate these motors, you will need to make sure that your 3D printer is extruding the correct amount, and this will require the use of G-code commands.
Prepare your values and calibrate the extruder
To do this, you will need to collect all of your printer’s settings by sending the command “M503”, from there, you should get an output of a variety of numerical values such as: “X100.00 E140.00 Y100.00”. Ensure that you take note of these values, as the first three relate to the number of steps the stepper motors will need to take when moving in the X, Y, and Z directions. The last value is the most important for adjusting the stepper motors, as it relates to the number of steps the extruder motor will take per millimeter when extruding filament. Make a note of this value and call it value 1. Insert some filament (around 50mm) and measure the value of it with the calipers. Make a note of this value, and name it value 2. Then, extrude 10mm of filament and measure the distance from the top of the extruder, all the way down to the point you have marked. Make a note of this value, and name it value 3. Then, minus value 2 from value 3. If you get 10mm, you have calibrated the extruder. If not, you will need to tweak the extruder millimeter.
Calibrate the printer axes
After calibrating your extruder, the next step will be to calibrate the axes. Calibrating the axes is pretty much the same as calibrating the extruder, the only difference is that you will need to send something to print. Print a small object (such as a square) and then you will need to measure each dimension of the 3D object. Make sure that your object’s dimensions match the commands you gave to the printer. If they don’t, then you will need to tweak the values by using G-code commands until your printer is using the correct dimensions.
Doublecheck the filament settings
The next thing you will need to do is check the filament settings. In order to make sure that you get the very best results while using a variety of filament materials, all you will need to do is make sure that you are adjusting your filament as per the recommended settings by the manufacturer of the filament. This can usually be found on the back of the packaging, on the manufacturer’s website, or by checking the manual that it would have come with upon purchasing.
Doublecheck the printing temperature
The final step to calibrating your 3D printer will be to find the correct printing temperature. The most common way that you can find the right temperature is by printing something which is known as a temperature tower. You can download a variety of different temperature tower templates online, though they will each serve the same purpose. A temperature tower works by printing segments of an object in different temperatures. Once the temperature tower has finished printing, then you will be able to then examine the different temperatures in order to determine which one is the best.
Lastly, the above steps are only intended to be used as general guidelines, as each 3D printer will likely have a slightly different calibration process. For the best results, we recommend taking a look at the owner’s manual which would have been included in the printer box upon purchase. In there, you will be able to find all of the information required to correctly calibrate your 3D printer.