

Last Updated on
Whether you are compiling a report, working on your novel, or creating correspondence, it is important that you are able to navigate your way through your Word document quickly and easily, as well as find the information that you need without stress or delay.
Numbering your pages is the easiest way to achieve this, and this is a fast, easy and effective process that will help you stay on track, reduce your stress – and eliminate the worry that an enormous gust of wind will destroy all your hard work by throwing your pages into disarray.
How To Number Your Pages in Word
There are a number of simple steps to help you number your page in word, and these are as follows:
Step
Page number
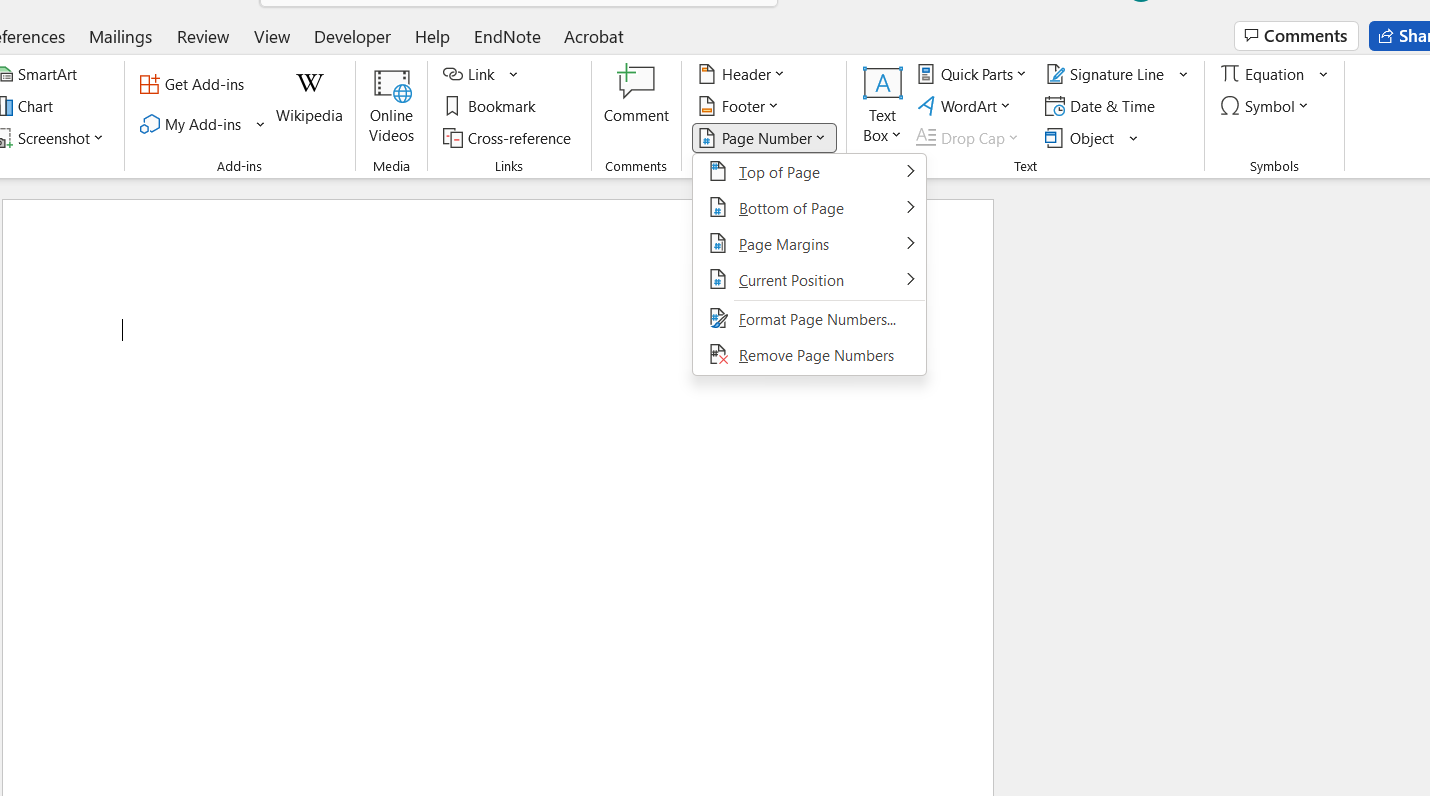
Head to the Insert tab on the top ribbon, and select the “Page Number” option – this is located in the Header and Footer section of the ribbon.
Step
Place pages
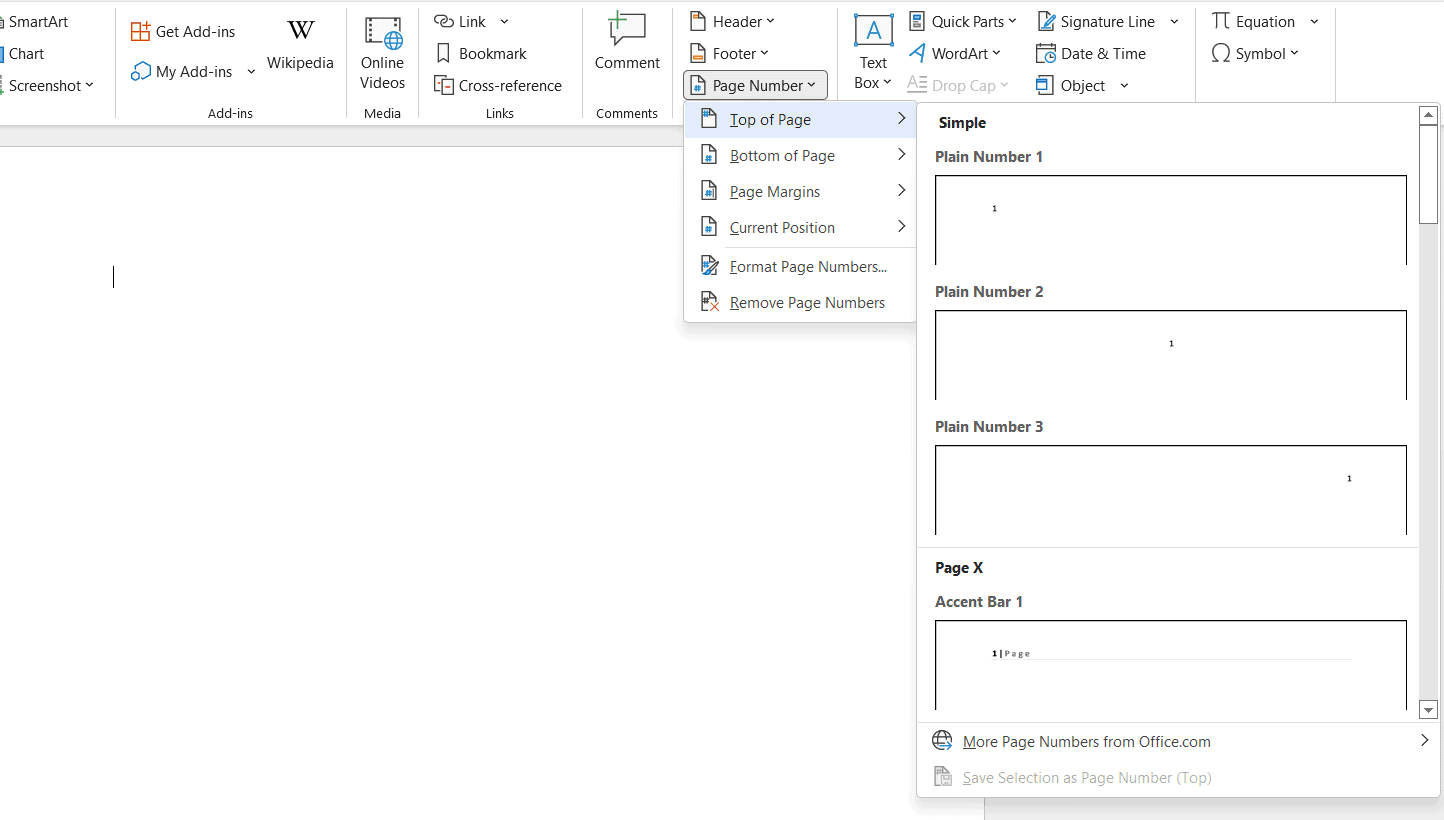
A drop-down menu will appear, and this offers a number of options regarding the placement of the page numbers – you can opt to place them in the top right of your page, in the bottom center, or in another location of your choice.
You will be presented with a gallery, which demonstrates how the different options will look on your page – hover over each image in the gallery to see an example in real-time.
Use this section to play with a few different formats until you find the one that is the best fit for your document.
Step
Add numbers
Once you have selected the best layout and format for your needs, you can click it. This will instruct Word to automatically add numbers to all of your pages, in chronological order, in the style that you have chosen.
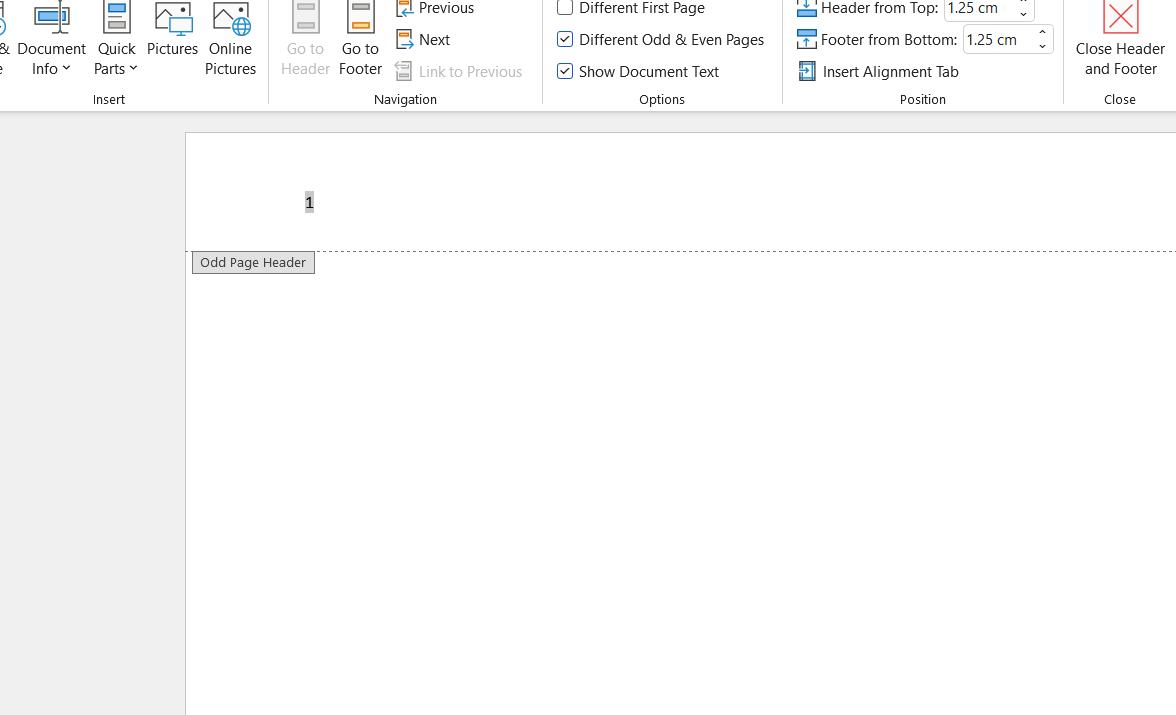
If you choose to add the page numbers to the top or bottom of your page, this will automatically open the header or footer section of the page, depending on your choice.
You will then be able to add many additions around these numbers as needed – for example, adding logos, titles, or other details that may be relevant to your document.
Step
Close header & footer
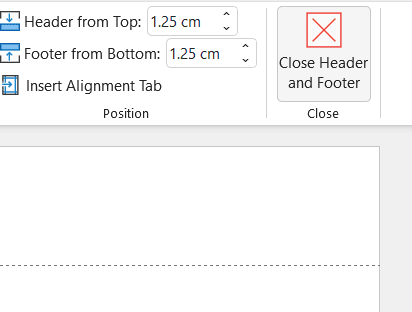
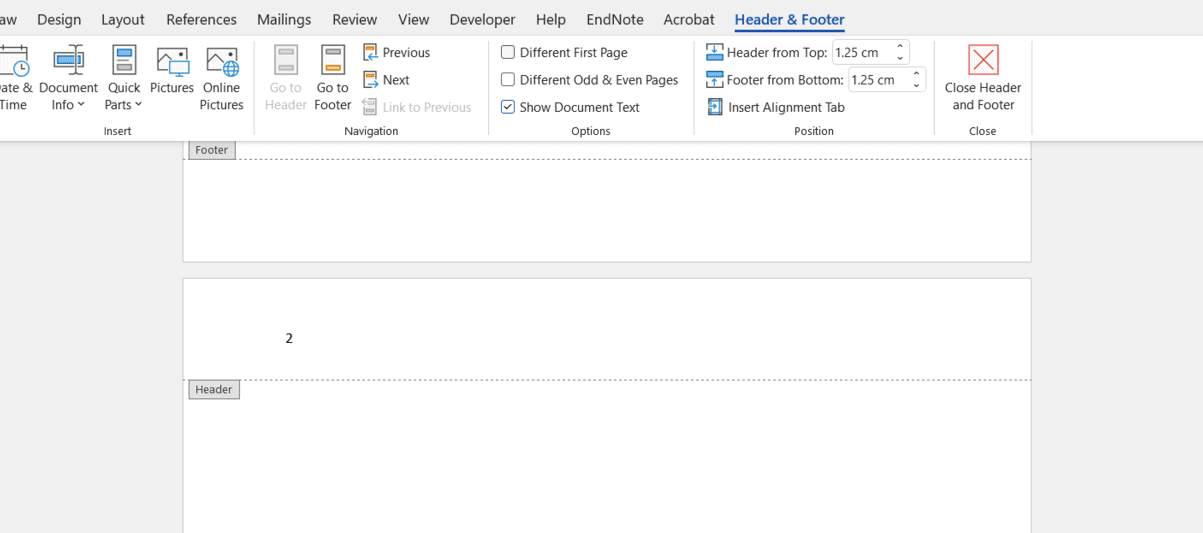
Once you have finished adjusting and adding the details that you need, you can click the “Close Header and Footer” button – this is again located on the Ribbon – and you will be returned to your page.
Double-clicking anywhere in your document outside the header and footer space will also have the same effect and take you back to your document.
This is a fast, easy and effective way to ensure that page numbers are added automatically to your document, and reduces the arduous task of having to go through and manually add page numbers to each of the pages – this is a chore that nobody wants to be faced with.
By using the automatic feature, you can ensure that each page is numbered and that this is done consistently throughout the entire document, offering a neat and professional finish.
Other Options
In some cases, you may not want total uniformity across each page and may need to alter or adjust specific pages or sections. Some of the most common adjustments include:
Omitting the Page Number From The Title Page
If you have a title page set as the first page, you may wish to omit the page number, and use a new header or footer. Fortunately, this is a simple process:
Step
Double-click
Double-click in the area that you want the change to be made – such as the title page.
Step
Different first page
Head to the Ribbon at the top, click the Header and Footer Tools button, and select the option for “Different First Page”.
This will remove the standard header and footer from the title page, and you can leave this blank, or add information that is specific to that page.
You also have the option to alter the header and footer for the first page of each new section if required, for example, by adding chapter headings.
To achieve this, simply place the insertion point somewhere in the new section – the first page of the new section you are creating – and select the option for “Different First Page”.
Numbering Odd And Even Pages Differently
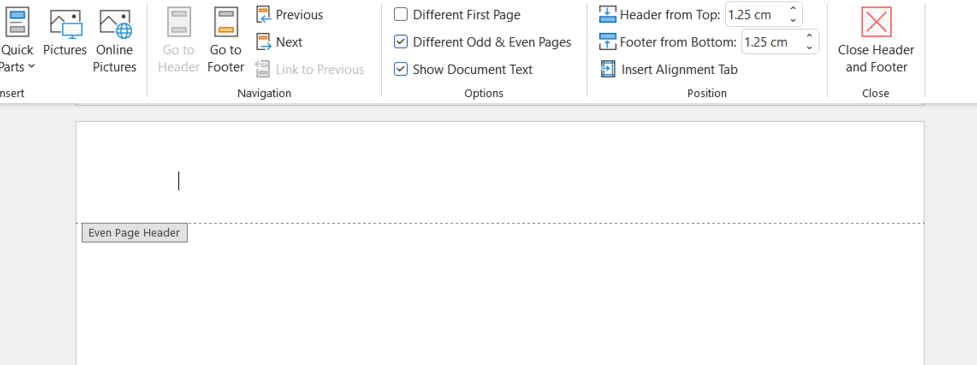
You may also need to number odd and even pages slightly differently – this tends to be an option when you are creating a book, placing the page number on the left on even pages, and on the right on odd pages, and ensuring that the number can be read when the book is bound.
To achieve this, head to the Header and Footer Tools button in the Ribbon, select the Option button, and then click the option for “Different Odd and Even Pages”.
The document will then be automatically formatted to have odd and even page numbers placed in a “book” format, and you can make the adjustments required.
Using Different Numbers and Formats For Different Sections
In some documents, you may wish to use different formats and numbers for different sections – for example, Roman numerals for the table of contents and Arabic numerals for the main section of the document and page numbers.
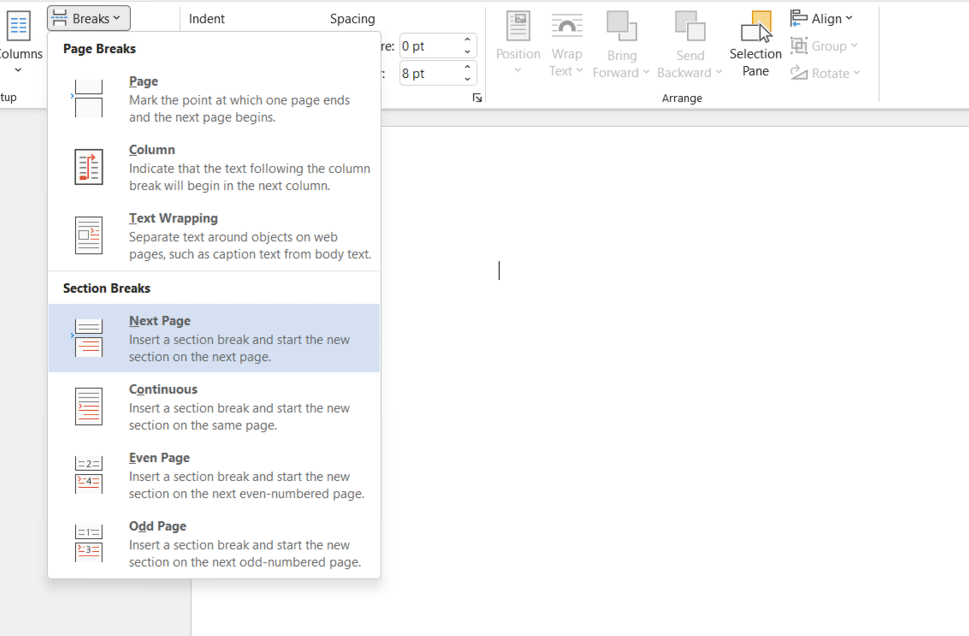
This option can be achieved by dividing your document into sections – place the insertion point at the start of your document, and select the Layout tab on the Ribbon.
Select the “Breaks” tab, and select the “Next Page” tab in the drop-down menu. This will create a section break, with a new section beginning on the next page, and you can change the format of page numbers in each section.
Step
Design button
Break the link between the new section and the one before by opening the header or footer area, depending on where your page numbers are, head to the Header and Footer tools section and click the “Design” button.
Select the “Link to Previous” button – this will break the link to the previous section and allow you to start again.
Step
Adjust page numbers
When the link is broken, adjust the page numbers. Open the header or footer of the first page of the new section, and right-click on the page. On the menu, select the “Format Page Numbers” option.

Step
Number format
A window will appear – head to the “Number Format” drop-down menu, and choose the types of numbers you want to use for this section.
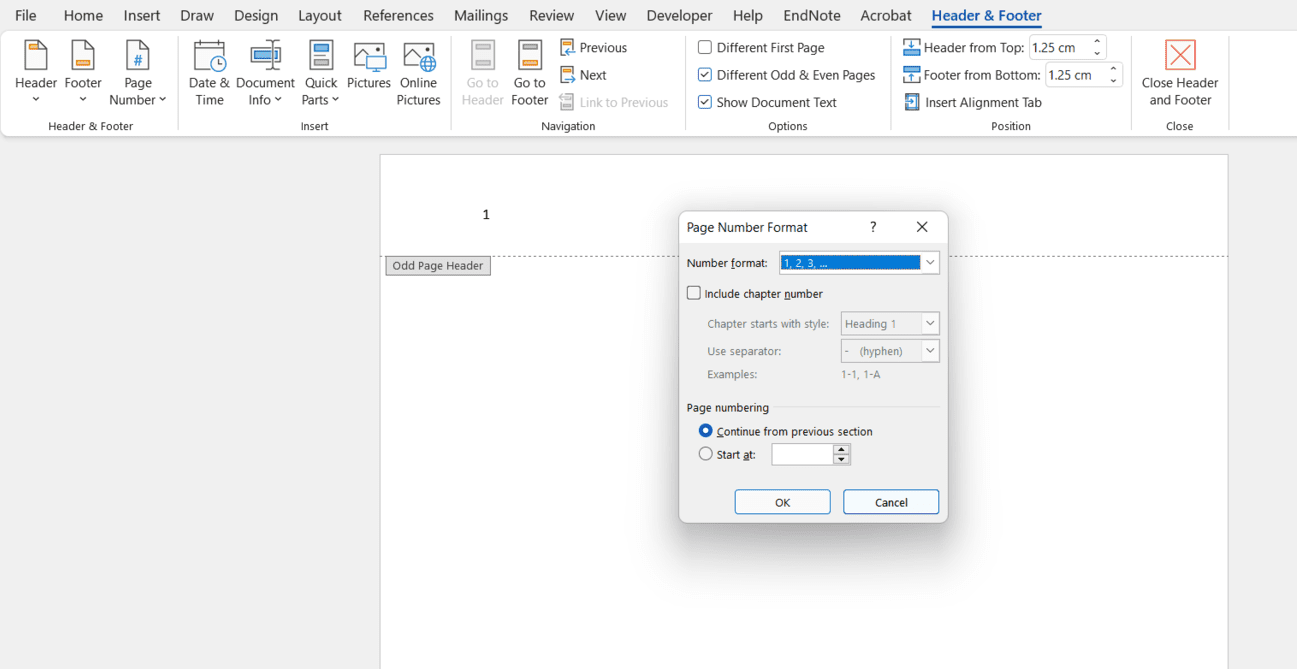
Step
Click OK
Click “OK”, and you will see that the page numbering has changed for this section.
Step
Format page numbers
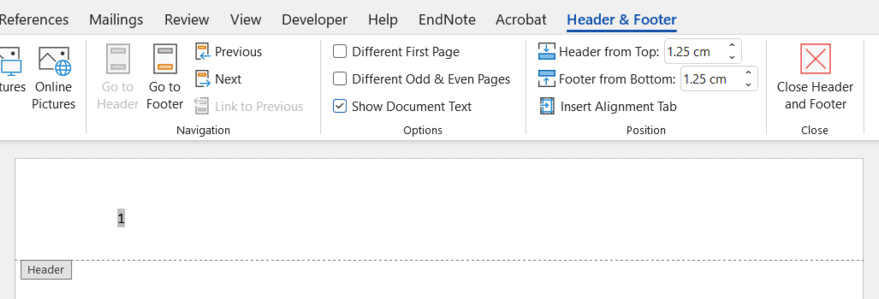
Now you need to break the end of this section. Scroll to the first page of your planned next section, right-click, and select “Format Page Numbers”.
Choose “Start At”, and place a “1” in the box on the right. This sets the first page of your new section.
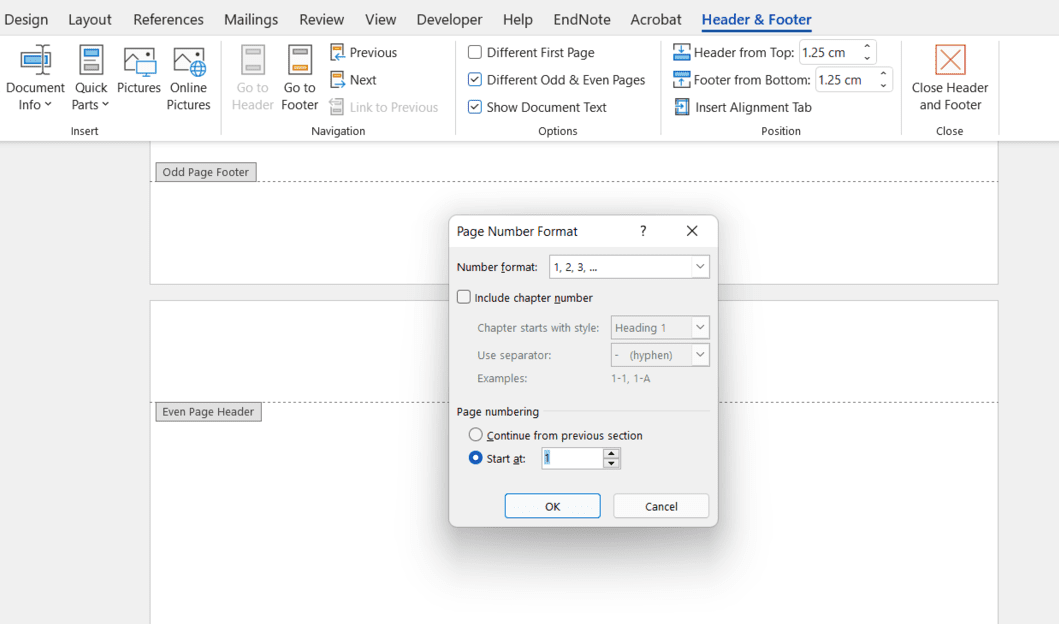
This can be repeated as often as needed for the sections that you require for your document.
Final Thoughts
These options should help you get started with numbering your document and will ensure that you achieve the style and format that you need for each project, keeping things ordered, efficient and accessible.