Last Updated on
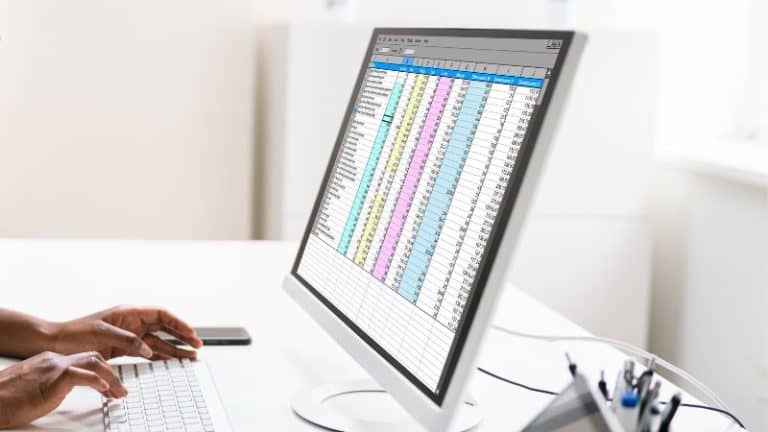
Printing a spreadsheet can be extremely frustrating if you don’t know how to properly set the print area in Excel.
Mastering this is a simple thing to do, and here we will talk you through the steps you will need to follow.
How To Set A Print Area In Excel
Here are the steps that will help you to clear or set a print area in Excel:
Step
Page Layout Tab
Select the Page Layout tab from along the top of the tab menu.
Step
Print Area Icon
Next, click on the Print Area Icon.
Step
Select Clear Print Area
Select Clear Print Area, this will clear any pre-existing settings.
Step
Highlight Cells
Now, select, or highlight, the cells that you need to print.
Step
Print Area Icon
Again, click on the Print Area Icon.
Step
Set Print Area
From the drop-down menu select Set Print Area. The print area has now been set.
It is worthwhile setting this for each worksheet, to avoid any previous settings from interfering with new worksheets on Excel.
You can also check your page margins before printing to enable more of a worksheet to fit on a sheet. This can be adjusted in the Margins section of the Page Layout tab.
How To Check Before Printing
Before printing, it is always worthwhile checking that your print area adjustments have been saved and also to prevent wasting paper on incorrect printings.
To check your worksheet before printing click on Print, next you will be able to see a print preview and make adjustments to the printer, pages to be printed, and so on.
Once you are happy press Print again for your worksheet to be sent to the printer. Alternatively, if you are working from a Windows device you can alternatively press Ctrl+P to bring up the Print mode screen.
How To Scale To Fit Before Printing
If you are printing a multi-paged worksheet, it may be useful to scale your page layout so that you can control what appears on pages and where. To do this you will simply need to adjust the width, height, or scale of the page layout.
You will find the page layout tab as a selection on the upper tab on the worksheet page. Scale To Fit options will be the third section within the page layout tab.
If you want to print a two-page spreadsheet on one A4 piece of paper, select ‘one page’ beside the height or width dropdowns. Adjust the scale of the worksheets if you want to shrink or enlarge the worksheet to fit a specific print layout.
How To Set A Page Break For Multiple Page Prints
Setting a page break is a very simple process and is often used when a worksheet has a lot of columns and rows.
To create a horizontal page break, highlight, or select, the row where you would like the page break to be.
To create a vertical break, repeat this step but with the column where you would like the page break to be placed.
After selecting the necessary row or column, click the Breaks icon in the Page Layout tab. Next, select Insert Page Break. The break can be removed again by repeating these steps but selecting Remove Page Break.
Final Thoughts
Printing worksheets should no longer be a thing to dread as you now know to set the print area in Excel, how to create page breaks so that they don’t happen in inappropriate places, and you also know how to preview your worksheets before printing.
After repeating this process several times it will become much easier to remember. So you can say goodbye to wasting paper when printing Excel worksheets.