

Last Updated on
Keeping spreadsheets, tables, and charts looking professional in Microsoft Excel can be a challenge, however today we are going to discuss a very easy method for organizing your text.
Wrapping text is an easy method for making your Excel text stay neat and organized and we’ll show you a few ways to do it.
What Is Wrapping Text?
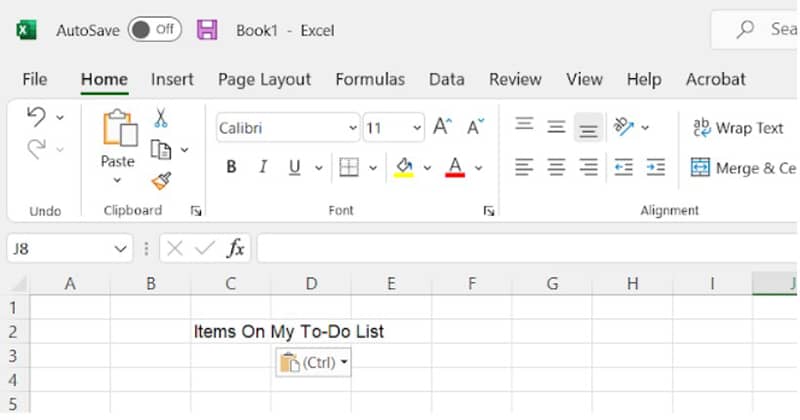
Say that you have written “Items On My To-Do List” into cell C2. However, because the text is long it has gone over the border of cell C2 and has entered into D2.
Now there are a few ways to fix this. The first is to simply reduce the number of words you have used so that the length of the sentence is shorter. But what if you don’t want to shorten the text because it won’t contain the information you want?
The next option is to simply reduce the size of the text so that the words fit into one cell. The easiest way to do this is by right-clicking the cell, selecting the “Format” option, and choosing “Shrink to fit.” But what if you don’t want to reduce the text size because it’s not easy to read it?
You could even manually shorten and lengthen the size of the column or rows using the mouse to hover over the lettered columns or numbered rows.
However, this will affect the rest of the text in that column, which can look messy; especially if you have smaller text above and below your longer text.
Enter wrap text.
This option will make extra-long text into multiple lines so that you can see all of it clearly without having to change the text or cell size.
Step
Wrap Text Option
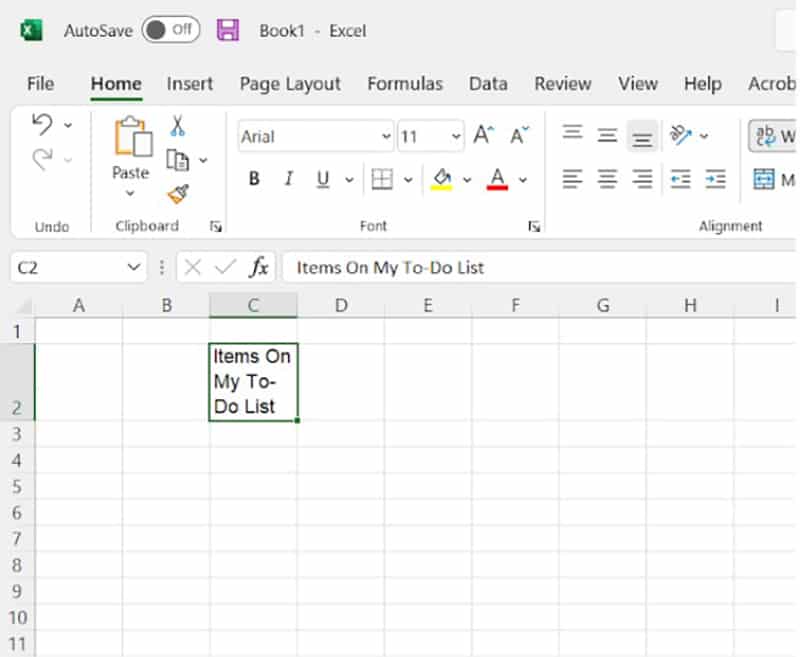
The easiest way to select Wrap Text is by going to the “Home” tab and finding the option in this menu. Highlight the cell or cells you want to wrap the text for, and then click the “Wrap Text” button.
If we take our example from earlier. Our text that reads “Items On My To-Do List” will no longer be going across cells C2 and D2, and instead will be split up within cell C2.
Step
Using Wrap Text Automatically
If you are using the above method, you will notice that it will take some time to manually wrap the text for the cells you choose, and this can be time-consuming. However, there is a way to automatically wrap your text.
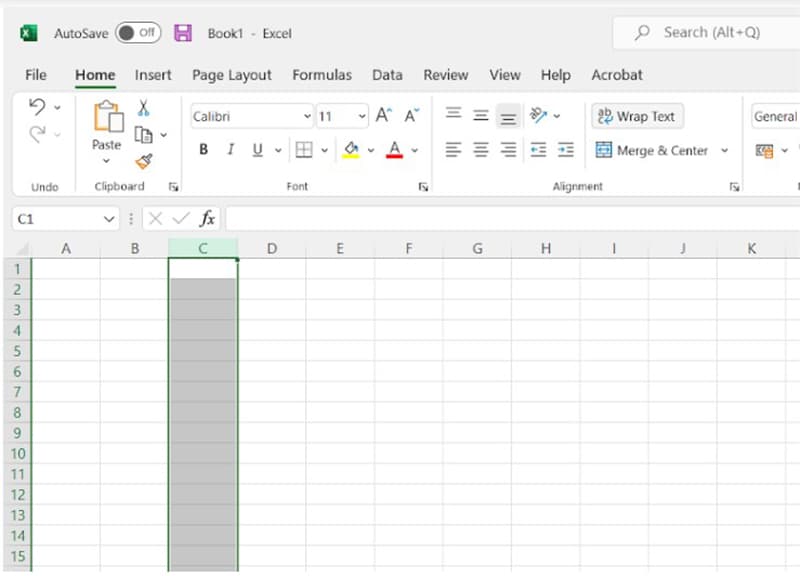
To do this, you need to select an entire column and then click “Wrap Text.”
Step
Selecting Where You Want The Sentence To End
One final tip is that you can choose where you want the first sentence to end.
Let’s take our text “How To Make An Omelet”, and say we wanted to have the first line be “How To” and the second line “Make An Omelet.”
Simply click the cell and place the cursor after the word “To” and press Alt+Enter which will now break up the text into two sentences with your personal preferences.
Final Thoughts
Above are a few options to help you with your text in Excel, which we know can be tough to keep looking pretty and organized. Hopefully, these tips will help you get through those long days of writing when using Excel!
Looking for more help with your Office applications?
As Microsoft Office is a multi-app suite, it’s likely that you have the full package installed on your machine. This, therefore, means that you may also be looking for potential fixes in said applications as we all know that Office problems arise on a regular basis.
Below, you’ll be able to find links to all of our most requested hints and tips to get the most out of Word, Excel, Powerpoint, and more.